Photographing Gems and Jewelry
Introduction: Photographing Gems and Jewelry
I thought I’d write a post about photographing gems and jewelry, since getting excellent photos of both is crucial for my business–and takes a significant amount of my time. It’s also a topic I frequently see discussed online. No matter what anyone tells you, getting good photos of gems is not easy–the camera does not “see” things the way our eye does. In addition, it reacts differently to lighting than our eyes and brain do, and since color is so crucial in gemstones, this is a very important problem to recognize and deal with. I’ll cover the basics: The camera, lighting, composition and post-processing.
The Camera
Contrary to popular belief, great photos are not the result of an expensive or “professional” camera. While its true that a better camera can be used to produce better results, the real work behind a great photo requires knowledge of how to use the camera, how to light the subject, how to compose the photo and much more. That said, starting with the right camera makes a big difference. Any camera you use should have several important features:
- Macro capabilities: With few exceptions gems and jewelry are relatively small. To get a good photo, you need to be able to get a magnified image–for that you’ll need either a special macro lens or a camera that has macro capabilities.
- Manual focus capability: Even the best autofocus system will struggle to focus exactly on the right part of a gem or a piece of jewelry. You need to be able to override the autofocus to precisely set the focal plane where you want it to be.
- Manual exposure control: Gems and jewelry reflect light–it’s what makes them so sparkly and attractive! It also means that you need to deal with a wide range of light in the image. Being able to manually control the exposure allows you to prevent blown-out highlights in the photo–bright areas that overwhelm the capabilities of the camera sensor. It also allows you to control the depth of field–the area of the image that will be in focus–by controlling the aperture of the lens.
Ideally you should have the following features as well:
- RAW file output: This is important to help you during the editing phase. It will be rare that a photo will come straight out of the camera perfect; some editing of exposure levels will be required. This is much easier with the original raw file data from the camera, and the results will be much better.
- Mirror lock-up if the camera is an SLR: If you use an SLR camera that has a mirror, mirror lockup is important. It will prevent shake-induced blurring. In a macro image at low shutter speeds the image can actually be blurred from the slap of the mirror as it flips up and down to take the image.
- Live View capabilities: This allows you to compose the image in real time on the camera. This is important as it allows you to adjust the lighting and positioning of the gemstone to ensure that it looks the way you wanted it to.
- Interchangeable lenses: The best lens to use will be a dedicated macro lens, ideally one of 100mm focal length of more. A good macro lens will give a very sharp image with a flat field and the longer focal length gives you enough working distance to ensure the depth of field is what you want. The longer the focal length of the lens, the greater the depth of field at any given f-stop on the lens.
- Depth of Field Preview: This allows you to see what the final photo will look like when the aperture is set for the final image; virtually all cameras will show the preview image in the viewfinder or LCD screen with the lens wide open. You want to see exactly what will be in or out of focus in the final image, and a depth of field preview button lets you do just that.
I personally use a Canon 5D Mark III digital SLR with either a 100mm f/2.8L Macro IS USM lens or a 180mm f.3.5L Macro USM lens. However, there are many other cameras that would be suitable for the task. No matter what camera you use, a tripod is a requirement. A tripod will allow you to keep the camera stable and lets you control the lighting and composition relative to the camera.
Lighting
Lighting is the single most crucial component of good gemstone and jewelry photography. Lighting determines the appearance of the gem–how the facets reflect the light–and the color of the gem, via the spectrum of the lighting. The photo below shows my lighting setup. I use a set of daylight-balanced fluorescent lights that I got from Alzo Digital. They are mounted on stands so I can adjust the height and angle of each light indecently. The hoods direct the lighting and they are covered with fabric diffusers to provide a soft even light. I shoot in my basement where I can completely control all lighting. When I take an image, I use the Live View function on the LCD screen of my camera or tether my camera to my laptop so I can preview exactly how the final image will look. I will spend as much time as possible moving the lights and or the gem to make sure that image looks perfect before I finally take the final exposure.
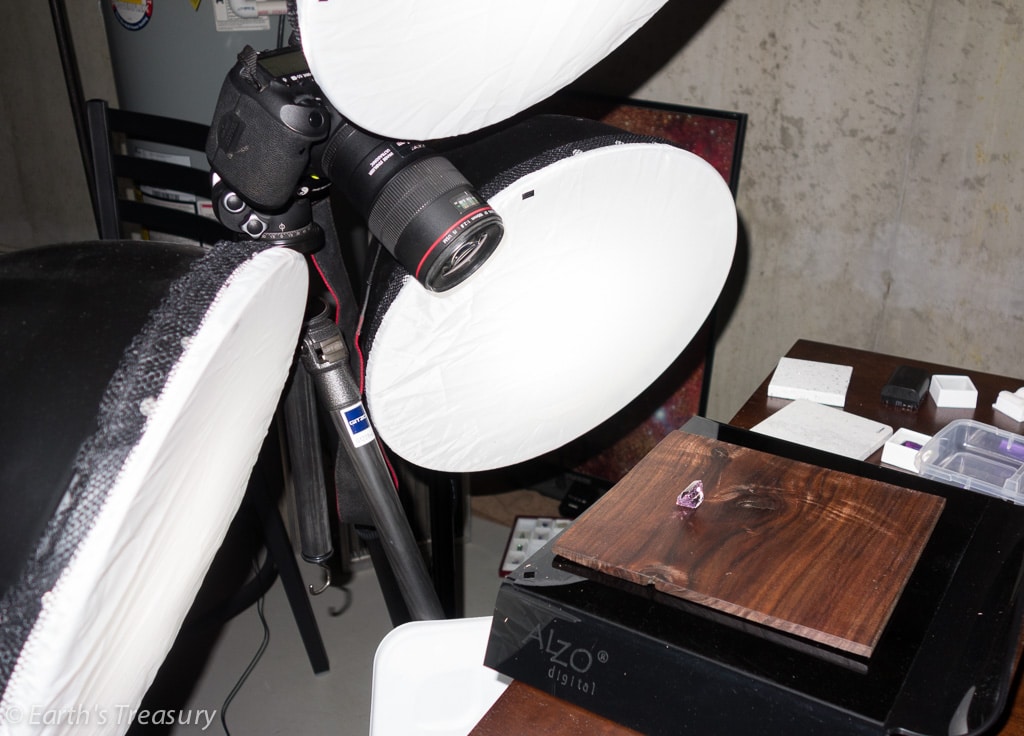
Note how I’ve got the lights and camera arranged relative to the gem. In nearly all gem cuts the highest performance in terms of light return–and therefore brilliance–is face-on to the table of the gemstone. That means that you want the camera positioned parallel to the table of the gemstone and the lighting to be either even with or slightly behind the camera. While shooting straight on to the gem this way will maximize brilliance and the symmetrical appearance of the gemstone, it will also often result in the gem picking up reflections of everything in front of it, including the camera. To minimize this effect, I position the lights in such a way that only the front of the camera lens is visible. Another solution to this problem is to use a lightbox or light tent that has just a small opening for the camera lens; however, I find that more cumbersome to deal with.
One difficult component of lighting to address is spectrum. This is crucial for white balance–making sure that in the final image whites are truly white, and therefore other colors are also close approximations to what our eye will see. To that end, I use daylight-spectrum-balanced lighting. These lights are designed to emit light at a temperature of 5500 Kelvin, very similar to full daylight. I use a gray card to carefully calibrate the white balance and a MacBeth Color Checker card to verify that the colors are all being represented as accurately as possible. However, one effect that I do have to deal with is fluorescence. Many gems are fluorescent. Fluorescent lights use fluorescence of the coating in the light tubes to turn the UV light created inside the build to the light spectrum we see–but they also emit some UV light. This can cause color changes or color shifts in many gems. Sometimes it won’t be apparent to the eye–only the camera will pick up the color shift. In those cases I will typically try to photograph the gem under multiple lighting scenarios–daylight, incandescent and the fluorescent lighting. I always compare the image on my computer screen to the gem in my hand to be sure the final photo is as accurate as possible.
Composition
I touched on this briefly under lighting, since the two are closely related. However, lighting should be subject to the composition you choose that best displays the gem or jewelry you are photographing. Most faceted gemstones are designed to be viewed face on, looking right at the table. With a single loose gemstone this means that positioning the camera parallel to the table will provide the best view. However, with multiple gemstones in a photo or with a piece of jewelry that may feature multiple gemstones, you might need to choose a view that is a compromise so that all of the gems are displayed to best effect. Some gems are best viewed or photographed from an angle–for example opposed-bar cuts or gems with checker-cut crowns. It will often take a little bit of experimentation to get just the right view; I suggest photographing gems like these from multiple angles to see which appears best.
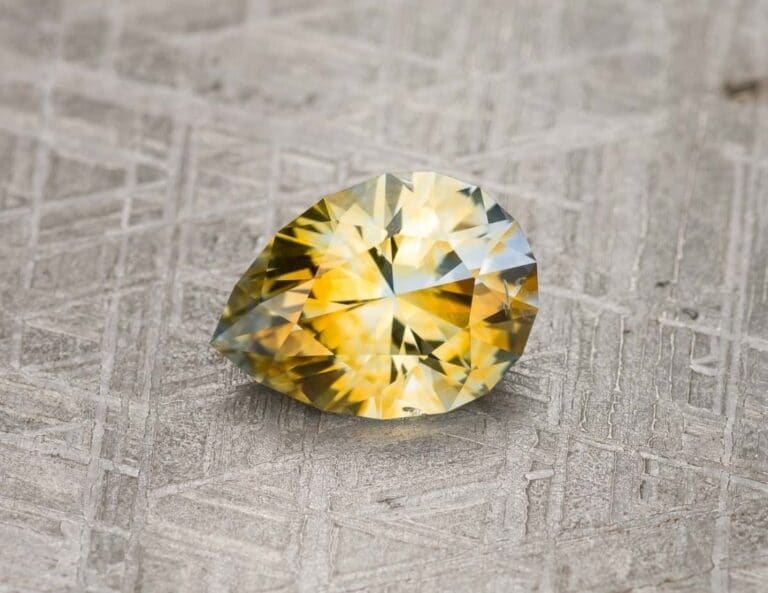
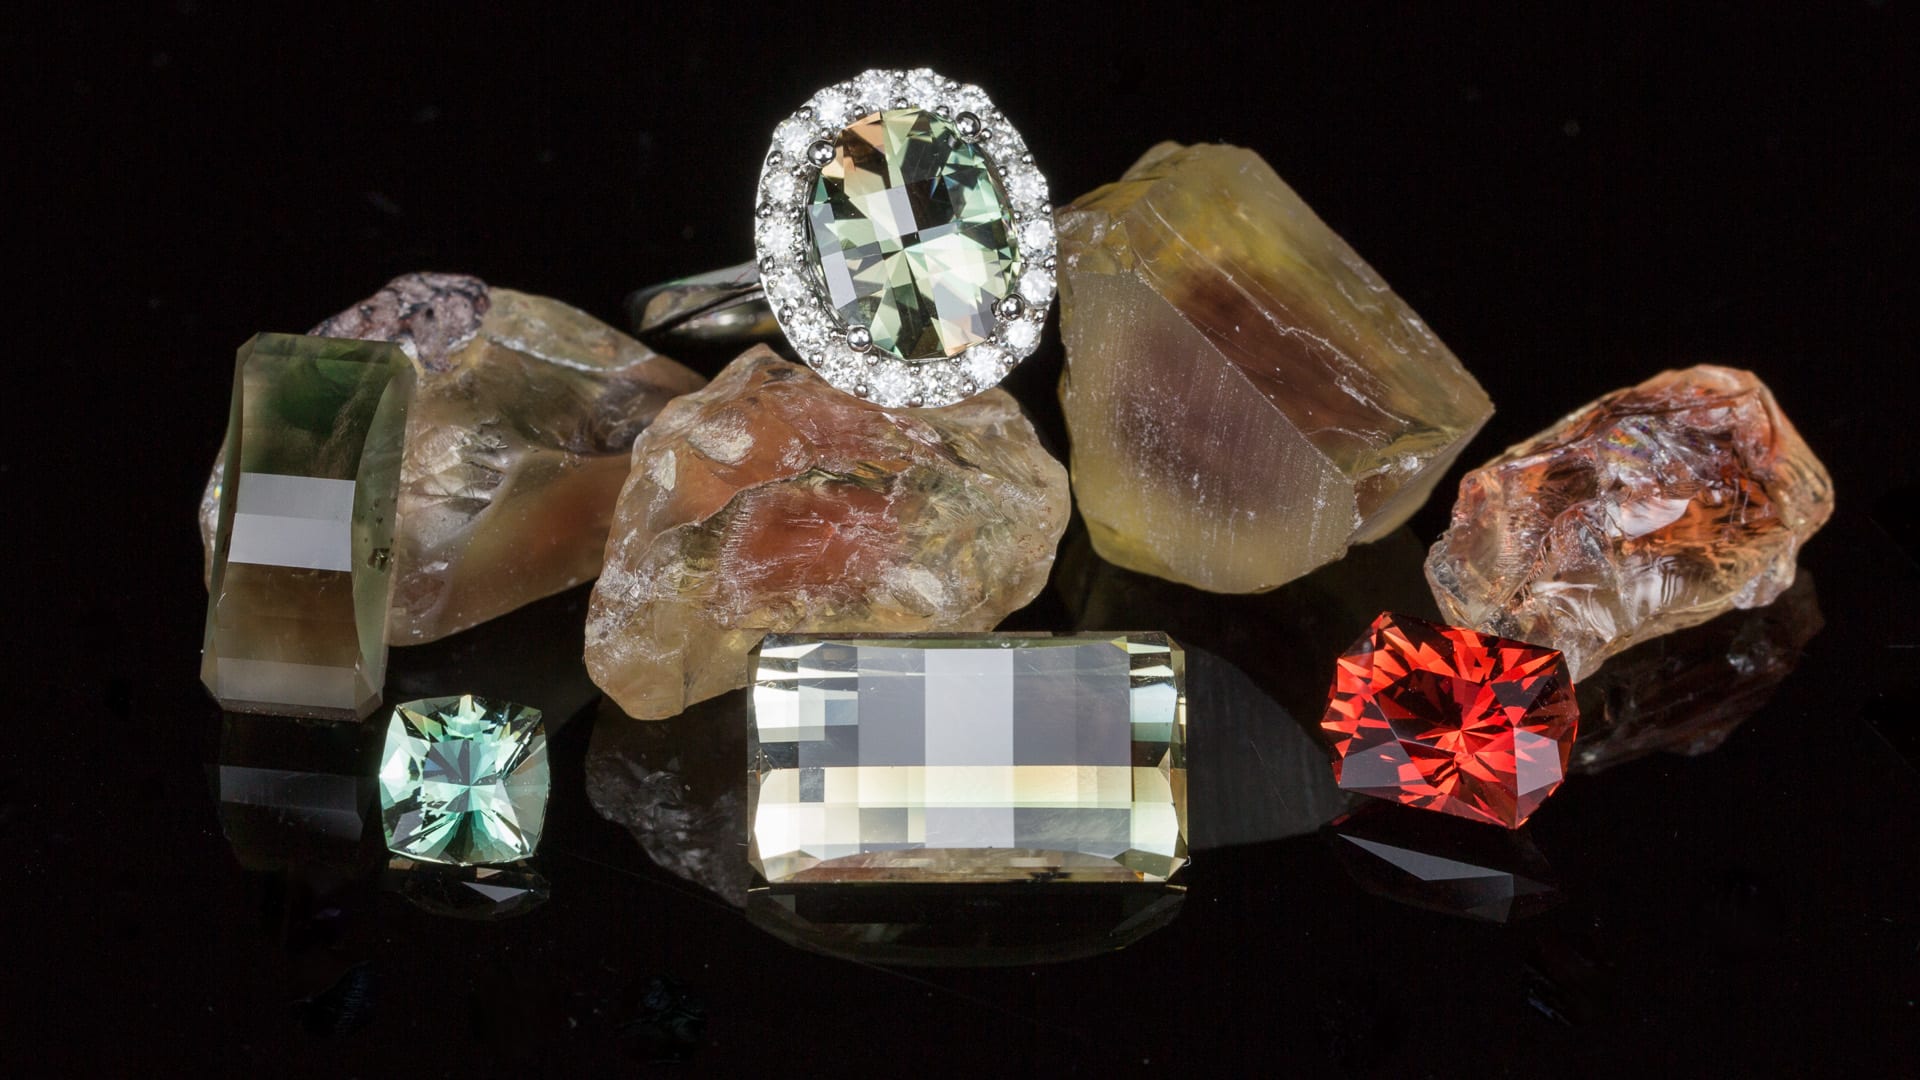
Part of the composition is the background you choose. Because I photograph all of my gems for sale on my website, I try to be very consistent with the backgrounds. I prefer to use wood because the natural texture provides some visual interest and contrasts with the highly polished facets of the gems. I also will often use a black lexan background. This creates isolation of the subject, and a slight reflection to provide balance to the image. Occasionally I substitute a white background for very pale gems. For purely artistic compositions, objects with complementary colors can be very effective. For example, blue, green and purple gems can look beautiful on an orange or red background. Finally, think of the placement on the background you choose. I often angle the gems relative to the camera or the wood grain; this creates a visual contrast that keeps the image more interesting and engaging. Combined with judicious placement of the plane of focus, I can use this effect to lead the viewer’s eye into the picture. The sapphire image below demonstrates this effect.

Post-Processing
The final step to photographing gems and jewelry is the post-processig of the image. No matter how well you’ve composed your image and how good of a job you’ve done with your lighting, you will still need to do some work on the images–its the whole reason I recommend shooting the images in your cameras raw mode. Because a well-cut gem or glittering piece of jewelry will have brilliant areas, you will have to do some adjust of either the brightness of the image highlights or the shadows–or both. Done properly this will give the image a more natural appearance. Even the best cameras cannot come close to capturing the dynamic range of light that our eyes can see. I typically shoot my images to make sure that the brightest areas are not overexposed. This means the darker areas of the image can be too dark. By using the “Shadows” adjustment slider in Adobe Lightroom (my preferred photo management and editing software package), I can bring up the exposure of the darker areas of the image without altering the rest of the exposure. There’s a similar tool for the highlights that allows me to pull the exposure of those areas down a little bit if I’ve overexposed them.
The only other adjustments I do in post processing are cropping and occasionally some removal of dust spots. The key concept is to make sure the image is as accurate a representation of the object being photographed as possible. When a customer gets a gem or a piece of jewelry from me, I want to be sure that what they receive looks as close as possible to the photo.
Other Considerations
Other things to think about when photographing gems range from the location of where you shoot to what you do to keep the shooting area clean. One of the most persistent issues I deal with is dust and dirt on the gems I’m photographing. To control this, I try to keep the studio area very clean. Before shooting I wipe down all of the surfaces with a damp cloth. I wash my hands to make sure they are free of any dirt or grease, and will typically use disposable lint-free gloves. I dip all gems in denatured alcohol to clean them of any grease or fingerprints, then wipe them with a cloth, followed by a final wipe with a lint-free cloth. I will use gem tweezers to place the gems on the photo surface to ensure I don’t get anything on the gem. Some gems, like tourmaline, become statically charged when they are rubbed with a cloth. This means that almost immediately a tourmaline will start attracting particles of dust from the air. I keep the camera set and ready to shoot so that I can take the image as soon as possible. When adjusting the gems and lighting, I move the base that the gem is set on so I don’t have to touch the gem.
I hope you’ve found this post helpful–good luck with your photography of gems and jewelry! If you have any questions for me, feel free to post them below and I’ll do my best to answer all of them.